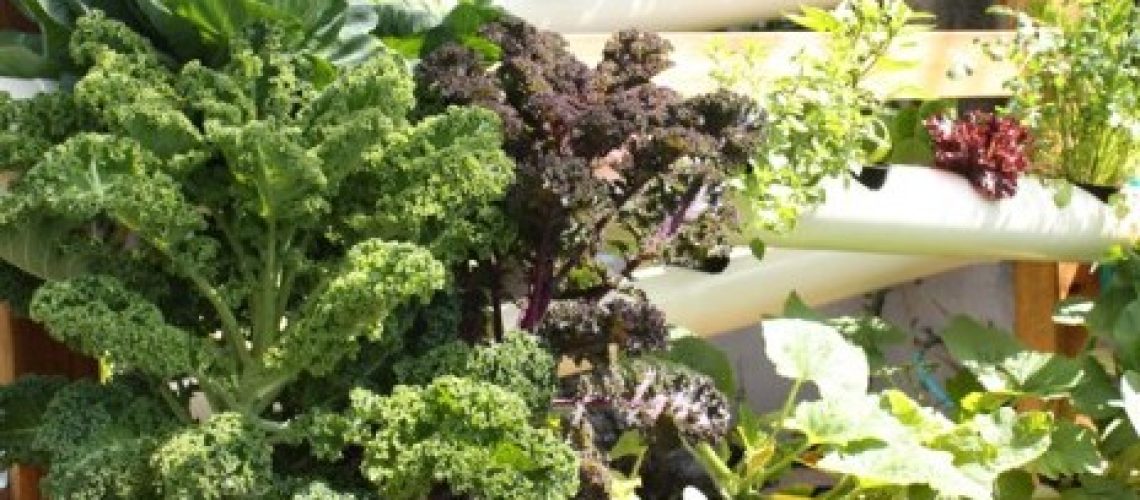
 Gardening is more fun if you can stand up to do it. Vertical gardening does not remove the need to prepare the soil, but it provides plenty of rewards after you spade the dirt and add nutrients. Florida was under water for millions of years, and there is virtually nothing in our soil that nourishes your plants. Make sure to check with your garden shop for the best ways to enrich the soil.
Along with making an initial application of fertilizer according to manufacturer’s instructions, plan to add it frequently throughout the growing season. Meeting the nutritional needs of your plants includes water as an essential element. Water content in tomatoes, squash, and cucumbers is about 95 percent, and frequent use of your misting system can ensure a steady supply. Rainfall is not enough to provide the amount of water that your plants need.
Components of a Misting System
With a little more than a dozen components, you can create a gentle misting system to water a 15’ x 15’ garden without damaging delicate blooms or new growth. The water supply for your system comes from a garden hose so that you do not need any special plumbing installation. Your parts list includes these items in ¾” Schedule 40 pvc:
• three 7’ lengths
• a 3’ length and a 1’ length
• two tees, slip
• two male reducing adapters, threaded
• two misting spray nozzles, female
• one swivel hose connector
• one end cap
For assembly, you also need these:
• one small roll of Teflon tape
• pvc pipe cleaner
• pvc glue
Assembling the Main Line
Lay out the pieces in this sequence on a work table covered with a drop cloth or newspaper:
• swivel hose connector
• 3’ length of pipe
• tee
• 7’ length of pipe
• tee
• 1’ length of pipe
• end cap
The smallest grain of sand can cause a leak in a joint, making it essential to keep your working area free of dirt or leaves. Plan to prepare one joint at a time and allow 30 seconds for it to dry.
Step 1: Apply pipe cleaner to one inch on the end of the 3’ length and to the inside of the swivel connector.
Step 2: When the cleaner is dry, cover the same areas liberally with glue until it drips off the pipe.
Step 3: In one motion, firmly insert the pipe into the swivel connector as far as it can go and twist it a quarter turn.
Step 4: Apply cleaner and glue to the other end of the 3’ length and to the inside of the first tee.
Step 5: Using the same preparation procedure, connect the 7’ length to the other side of the first tee.
Step 6: Connecting the next tee requires you to make sure that its opening points in exactly the same direction as the first one. The tees are takeoff points for the two risers, and even a small variation in orientation can make a big difference. Lay the first tee on its side so you can align the second one correctly.
Step 7: Wait at least 30 seconds to add the next pipe section.
Step 8: Complete the main line with the remaining 1’ length and the end cap.
Set the main line aside until it is time to build the frame.
R & R Sprinkler & Landscape
931 SE 11th Avenue
Cape Coral, FL 33990


